")
Hey bestie,
Your everything shower products are scattered across three bathroom cabinets, under the sink, and probably in a random basket somewhere.
Meanwhile, your Pinterest board titled “dream bathroom aesthetic” has 247 pins of perfectly organized shower carts that make you feel like you’re failing at adulting.
Bestie, let’s fix that today.
In this complete guide, I’m walking you through exactly how to organize an everything shower cart that’s functional, gorgeous, and actually makes you excited about self-care Sundays.
Moreover, you don’t need a huge budget or a massive bathroom. You just need a plan (which you’re about to get).
✨ Before we start, grab my free Pinterest to Dream Life Starter Kit to plan all your aesthetic lifestyle goals – including that spa-like bathroom you’ve been dreaming about.
")
Let’s turn your bathroom chaos into organized bliss.
What You’ll Need to Organize Your Everything Shower Cart
First things first, let’s gather your supplies.

The Cart Itself
Best Cart Options:
- IKEA Råskog cart ($39.99) – The Pinterest favorite for good reason
- Target Brightroom 3-tier cart ($25-35) – Budget-friendly and sturdy
- Amazon basics rolling cart ($20-30) – Basic but functional
- Container Store utility cart ($50-80) – Higher quality, more colors
What to Look For:
- Three tiers minimum for proper organization
- Wheels for mobility (preferably locking wheels)
- Water-resistant material (metal or coated wire)
- Narrow enough to fit your bathroom space
Organization Supplies
Essential Organizers:
- Small bins or baskets (2-4 pieces)
- Lazy Susan turntable (for bottles)
- Drawer dividers (if your cart has drawers)
- S-hooks for hanging items
Optional Upgrades:
- Waterproof shelf liners
- Clear acrylic containers
- Labels and label maker
- Decorative tray for top tier
Budget Tip: Start with just the cart and a few Dollar Tree bins. Then, upgrade your organization supplies as you go. As a result, you won’t overspend on things you might not need.
Step 1: Declutter Your Everything Shower Products

Before you organize anything, you need to know what you’re working with.
Gather Everything
First, collect all your everything shower products from:
- Bathroom cabinets
- Under the sink
- Shower caddy
- Bedroom drawers
- That random box in the closet
Lay everything out on your bathroom counter or floor. Consequently, you’ll see exactly what you have (and probably be shocked by how many half-used products you forgot about).
The Declutter Process
Toss Immediately:
- Expired products (check dates!)
- Empty or nearly empty containers
- Products that irritate your skin
- Things you’ve had for over a year and never use
Keep:
- Products you use regularly
- New or recently purchased items
- Favorites you’d repurchase
- Seasonal items you rotate
Donate:
- Unopened products you won’t use
- Full-size items that aren’t your style
- Duplicates you don’t need
The Rule: If you haven’t used it in the last three months (and it’s not seasonal), you probably won’t use it. Therefore, let it go.
Step 2: Categorize Your Products
Now that you’ve decluttered, let’s group everything strategically.
Essential Categories
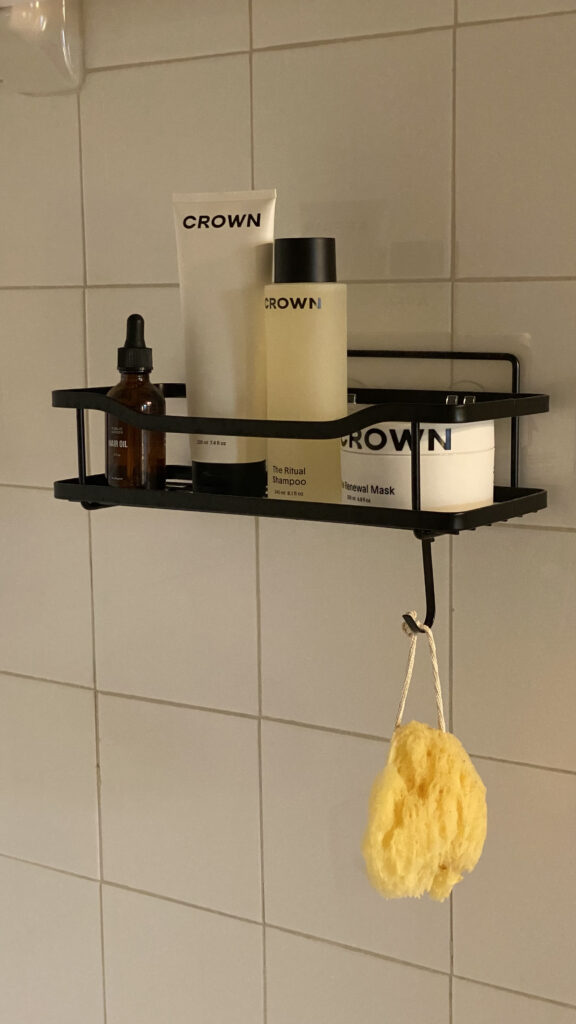
Hair Care:
- Deep conditioning masks
- Hair treatments and oils
- Scalp care products
- Heat protectants
- Shower caps
Body Care:
- Body scrubs and exfoliants
- Body oils and lotions
- Dry brushing tools
- Shaving essentials
- Bath salts or soaks
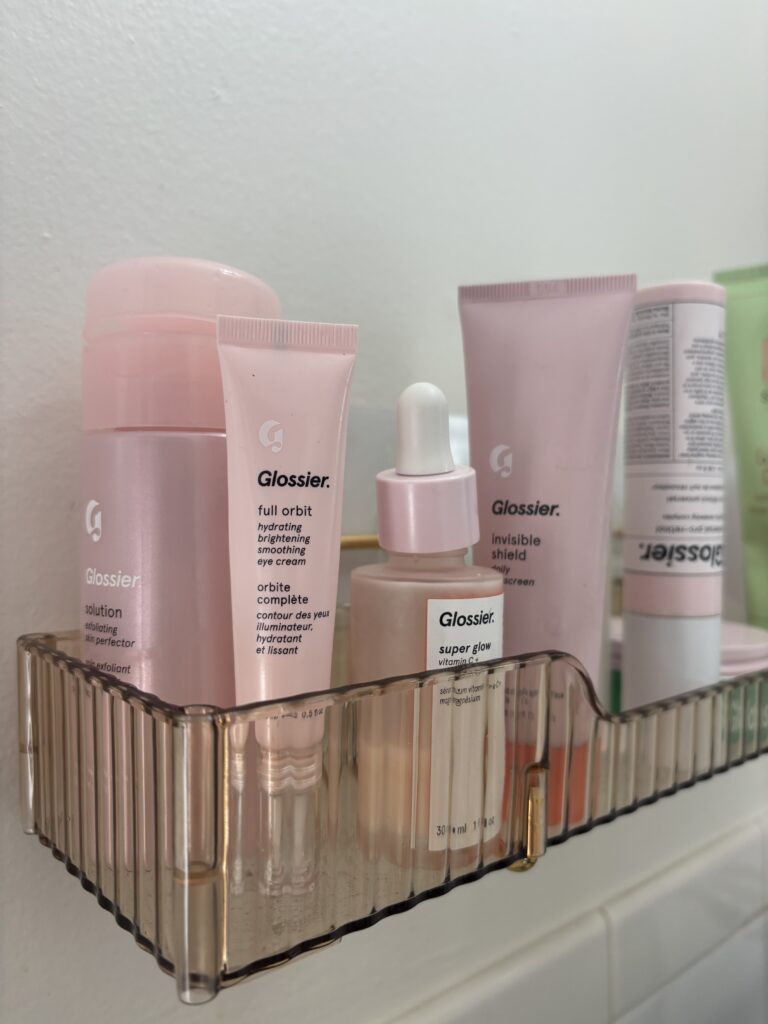
Face Care:
- Face masks (clay, sheet, gel)
- Facial tools (gua sha, jade roller)
- Cleansing brushes
- Special cleansers for everything showers
Tools & Accessories:
- Exfoliating gloves
- Loofahs and washcloths
- Pumice stones
- Nail care tools
- Hair removal tools
Pro Tip: Use separate piles or areas of your counter for each category. In addition, this makes the next step much easier.
Step 3: Clean and Prep Your Cart
Before loading products, prepare your cart properly.
Deep Clean
First, wipe down every surface of your cart with:
- All-purpose cleaner for metal carts
- Mild soap and water for bamboo carts
- Glass cleaner for acrylic carts
Don’t Skip This: Even new carts have dust from packaging. Moreover, starting with a clean slate feels so much better.
Add Shelf Liners (Optional)
If you want extra protection, add waterproof shelf liners to each tier. As a result, future cleanups will be easier and bottles won’t slip around.
Install S-Hooks
Furthermore, attach S-hooks to the sides of your cart for hanging:
- Loofahs and washcloths
- Exfoliating gloves
- Small towels
- Hair ties on a carabiner
Step 4: Strategic Placement by Tier
Now comes the fun part – actually organizing your everything shower cart.
Top Tier: Most-Used Products
What Goes Here: Place your most frequently used items on top for easy access. Specifically, this tier should include:
- Hair masks you use weekly
- Favorite body scrub
- Go-to face mask
- Essential tools
Organization Method:
- Use a small lazy Susan for bottles
- Keep a decorative tray for loose items
- Store cotton pads or rounds in a small jar
- Add a candle or small plant for aesthetic
Why This Works: When frequently used items are at eye level, you’ll actually use them. Otherwise, out of sight means out of mind.
Middle Tier: Body Care Zone
What Goes Here: This tier holds your body care essentials:
- All body scrubs and exfoliants
- Body oils and butters
- Shaving cream and razors
- Dry brush
- Body care tools
Organization Method:
- Group similar items in small bins
- Place razors in a separate container for safety
- Store oils in a tray to catch any drips
- Keep brushes and tools in a cup or holder
Pro Tip: Use clear bins so you can see everything without digging. Consequently, you’ll know when you’re running low on products.
Bottom Tier: Extras & Backup
What Goes Here: The bottom tier is for less frequently used items:
- Backup products
- Seasonal items (like summer body lotions)
- Foot care supplies
- Nail care tools
- Extra washcloths or towels
Organization Method:
- Use larger bins to corral everything
- Stack products by category
- Place heaviest items here for stability
- Store backups behind current products
Remember: The bottom tier is harder to reach, so reserve it for things you don’t need constantly. In addition, heavier items on the bottom keep your cart stable.
Step 5: Organize Within Each Tier
Simply placing items on shelves isn’t enough. Instead, let’s organize within each level.
Use Containment
Small Bins for Loose Items: Rather than letting small items roll around, use bins to contain:
- Sheet masks in one bin
- Hair ties and clips in another
- Travel-size products together
- Samples and minis grouped
Lazy Susans for Bottles: Place a lazy Susan on any tier with bottles. As a result, you can spin to access back items without moving everything.
Cups for Tools: Furthermore, store brushes, combs, and tools upright in small cups or jars. This keeps them visible and accessible.
Create Zones
Within each tier, create mini zones:
- Left side: Hair care
- Middle: Body care
- Right side: Tools and extras
Therefore, you always know where to find what you need.
Face Labels Forward
Always position product labels facing forward. Moreover, this makes identifying items quick and easy.
Step 6: Add Aesthetic Touches
An organized cart should also be beautiful. After all, when it looks good, you’ll maintain it better.
Cohesive Containers
Budget-Friendly: Use clear jars and containers from Dollar Tree. Similarly, mason jars work perfectly for holding tools and cotton products.
Upgrade Option: Invest in matching acrylic containers for a streamlined look.
Decant Products (Optional)
If you want next-level aesthetics, decant products into matching pump bottles or jars. However, this is completely optional and takes extra time.
Keep It Real: Most people don’t need to decant everything. Instead, focus on organizing what you have beautifully.
Add Small Touches
Finally, make your cart feel special:
- Small succulent or air plant on top
- Pretty candle for ambiance
- Decorative tray to define spaces
- Coordinating towel draped on the side
Color Coordination: If you’re particular about aesthetics, choose products or containers in a cohesive color scheme (white, black, or natural tones work beautifully).
Step 7: Maintain Your Organization
Creating an organized cart is one thing. Nevertheless, maintaining it requires a simple system.
Weekly Maintenance (5 Minutes)
Every week when you do your everything shower:
- Wipe down any spills immediately
- Return products to their designated spots
- Check for empty containers
- Straighten bins and containers
Monthly Deep Clean (15 Minutes)
Once a month, give your cart attention:
- Remove all products
- Wipe down entire cart thoroughly
- Check expiration dates
- Reorganize anything that’s gotten messy
- Refill products from backups
Quarterly Assessment (30 Minutes)
Every three months, reassess your system:
- Remove products you’re not using
- Add new favorites you’ve discovered
- Update organization if something isn’t working
- Deep clean and refresh everything
The Key: Consistency. Even five minutes weekly prevents total chaos from returning.
Everything Shower Cart Organization Tips
For Small Bathrooms
Space-Saving Solutions:
- Choose a narrow two-tier cart instead of three-tier
- Use vertical space with hooks and hanging organizers
- Wheel cart out when needed, store elsewhere when not
- Consider over-toilet storage instead
For Shared Bathrooms
Making It Work:
- Choose a cart that’s easy to move to your room
- Use clear labels so others know it’s yours
- Keep it neat and contained
- Consider a cart with a top that acts as a tray
On a Budget
Save Money By:
- Starting with a basic cart ($20-30)
- Using Dollar Tree bins and containers
- Shopping your house for jars and containers
- Adding one organizational element at a time
Your Organized Everything Shower Routine
Now that your cart is perfectly organized, here’s how to use it effectively.
Before Shower:
- Wheel cart to bathroom
- Gather what you’ll need for today’s routine
- Place items in order of use
During Shower:
- Follow your routine step by step
- Return items to cart as you finish with them
- Keep cart nearby but outside splash zone
After Shower:
- Wipe any wet items before returning
- Return cart to storage location
- Quick visual check that everything looks good
Result: A stress-free everything shower experience where you actually use all those products you bought.
Transform Your Self-Care Routine Today
Your organized everything shower cart is more than just pretty bathroom storage. Rather, it’s a commitment to taking better care of yourself consistently.
When your products are organized and accessible, you remove the friction that stops you from following through. Consequently, those everything showers become a regular ritual instead of a “someday” activity.
So grab that cart, spend an hour organizing it properly, and watch how something this simple transforms your self-care routine completely.
Your Pinterest-worthy bathroom is one organized cart away. Everything shower Sundays are calling. And that glowing, well-cared-for version of you? She’s ready when you are.
✨ Ready to organize your entire life, not just your bathroom? Download my free Pinterest to Dream Life Vision Map and start planning the intentional, aesthetic life you’ve been dreaming about.
💕 Need the mindset shift to make self-care actually stick? My Glow Up SOS: Emergency 24HR Kit ($7) includes the identity work that makes routines sustainable. Because organization without the right mindset won’t create lasting change.
Xo,
Chelsea Elise